Happy birthday Vicki!
All our love,
Stephen and Tammy.
 All the painting was completed by noon today. Those guys were fast, and really good also. Now the aftermath remains. We're working on tossing and packing the things we don't need, and moving things back.
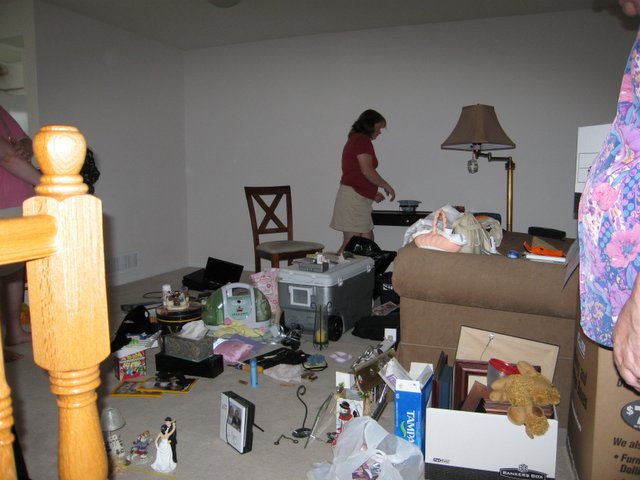
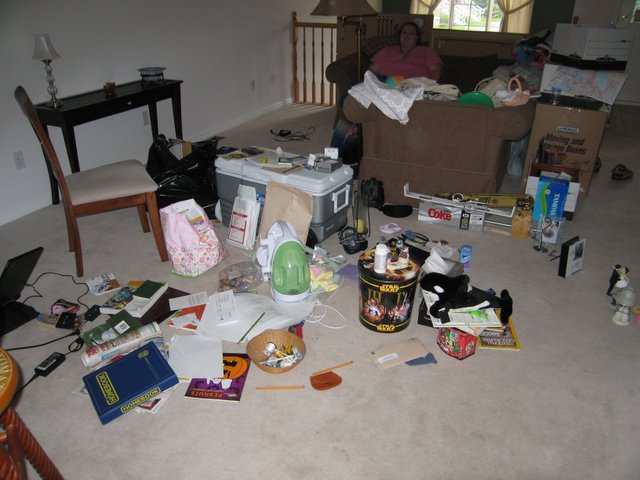

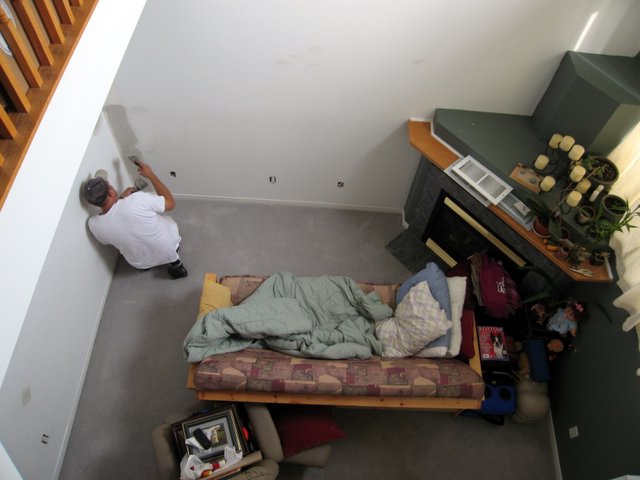 Painting day has arrived. We spent the past evening removing all of the plates and pictures off the walls, and moving furniture away from the walls. The painters arrived early this morning, and have started to sand and patch.


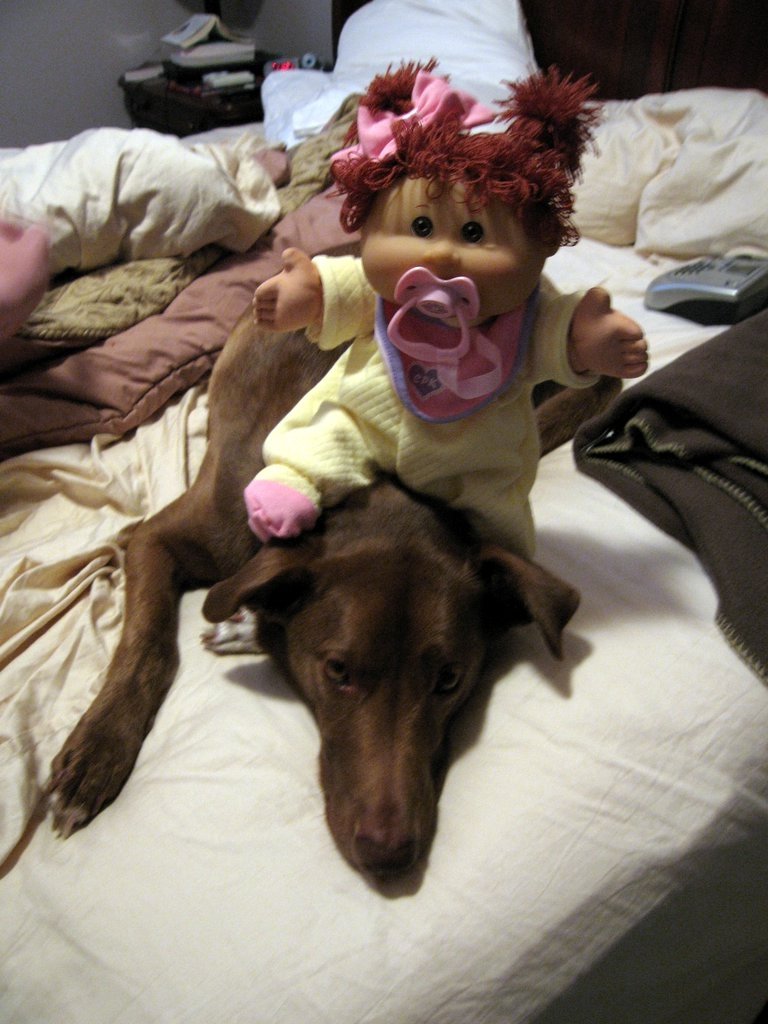
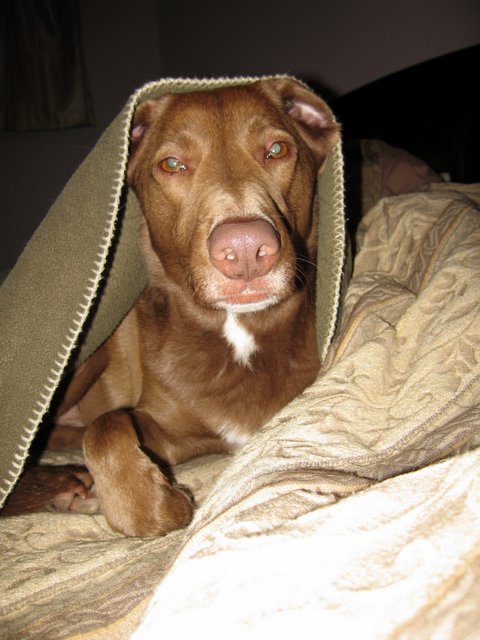 Nova's trying out a new Yoda kinda fashion. I think he can pull it off. He's rather smart, if just a tad too food driven.
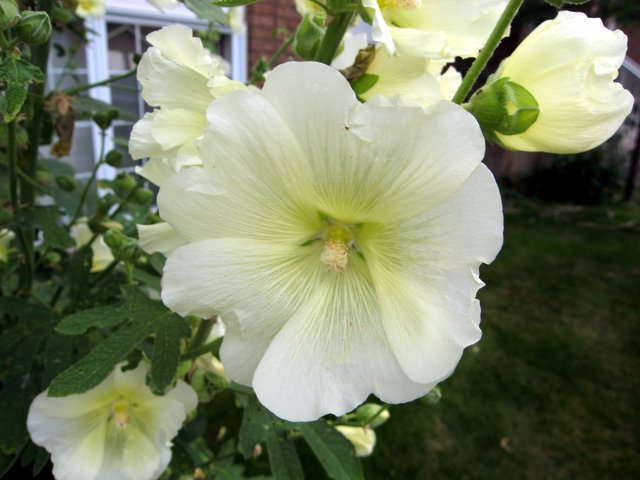 A couple of shots of flowers from the garden. Tam does not like the white ones much, but they're huge and mostly green, and fill alot of space, so I kinda like them. I do admit the leaves look much like those of a week back home. I nearly pulled them the first year.
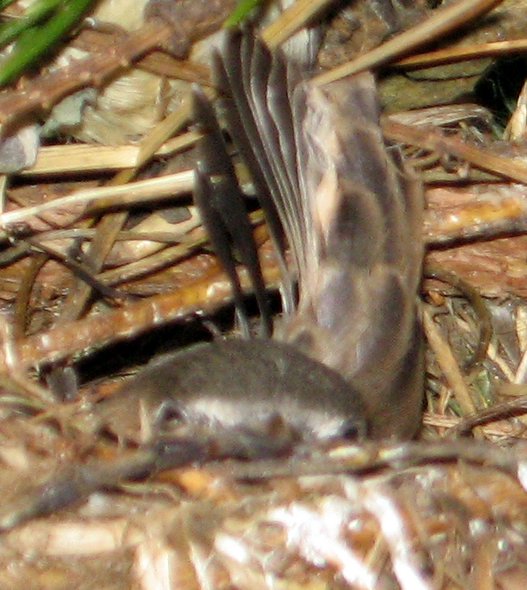 It looks like the bird family is doing well. The little ones seem to have feathers now, and are a bit more active. I saw a couple of them exploring the nest today, and their mom seemed to be attending to them. I'm not sure what the species is.
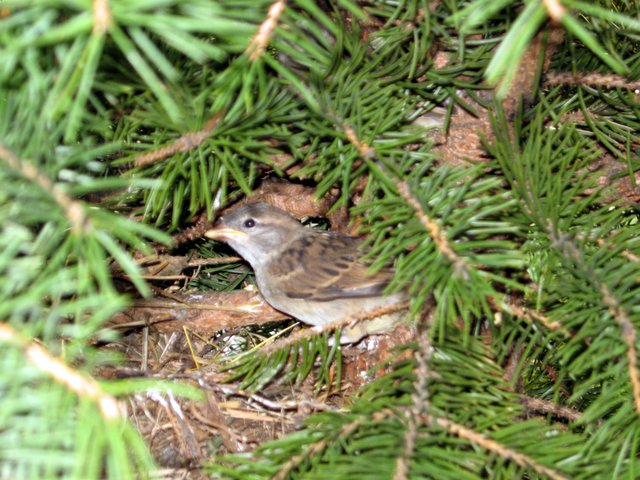
Stir canned milk, sugar and garlic powder until sugar is dissolved. Add vinegar and continue mixing. The quicker you add the vinegar and the less you mix (I usually give the spoon 3 or 4 turns around the bowl), the thicker the sauce will be. Let sauce sit for at least one hour in refrigerator before using. Eventually (hours to days later), the sauce may start to separate. DO NOT STIR IT. Simply skim the thick sauce off the top. It tastes fine, despite the appearance that all the vinigar has seeped out of it.
You should be able to get thick sauce simply by following the instructions in the top recipe. I can get mine a bit thicker than yogurt. Occasionally, I blow it and stir too much and the sauce gets thin again. If your sauce is not thick enough (I like spoons to stand up in it) follow the recipe below. It is my new favorite.
Alternate SUPER-THICK Sauce Recipe (confirmed to be excellent)
Please note, the amount of sauce provided in this recipe will likely last two servings at most (if used properly). I find that the sauce can be made in larger batches and survives an unnaturally long time in the fridge.
Donair Meat
(adapted from Derek's Place)
*Try to get your butcher to run the meat through the grinder a few times. A food processor will do the trick also.
Combine all ingredients in a large bowl. Knead for 20 minutes. Shape into two tightly formed loaves. Bake on broiler pan for 2 to 2 1/2 hours at 300 degrees Fahrenheit. Cool loaves and slice into thick slabs. Meat can be frozen for future use. If (like me) you are not fortunate enough to own your own rotary-stick-cooker thing like the ones in the good shops, you may find that the inner parts of the loaf are not browned enough. This can be remedied by re-heating the meat in a frying pan. This browns it nicely and gives it that slightly chewier texture.
Preparation
Heat donair meat in a frying pan. Dip a pita bread in water and fry in frying pan to soften (this is VERY important). Place a generous amount of sauce on bread. Top with meat, chopped onions and tomatoes and finish off with lots more sauce. Put on some old clothes, then roll up or serve open face on a plate. Utensils are strictly forbidden.
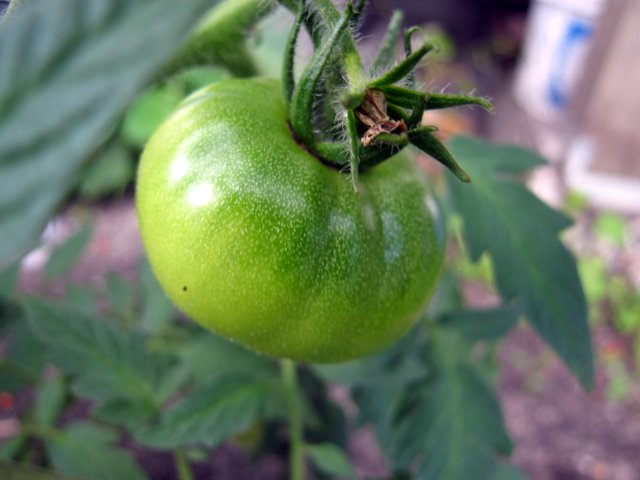
 We've got at least 2 tomatos growing in the little back garden, and the majority of the herbs are coming along nicely. In the photo you can see the pots that contain some mint basil, several bean plants (note the jaunty flowers), and a couple of minitaure pumpkins. I may have to transplant or remove the pumpkins, they were really just experiments...
 These guys have been making quite the racket in the tree near the house. I could only see one of them in the nest, but I think I hear several. This one seemed hungry.
 For those who have not already heard, we're expecting a baby. It's really really early yet, but the word's out, so we can't really do anything about that. We're very happy, worried, excited and scared. All is well so far.
 The photos are all ready. Geocoded, tagged, captioned, edited, altered and published. I thought that digital photography was supposed to be easy! I guess it depends on how much effort you want to put in. Well, hopefully the results are worth it. I've done this as several batches:
 My library